When I first started out crocheting, I loved to crochet flowers because they were small, simple, quick, and satisfying to create. The idea of a large project was a far too intimidating to start. That’s when I discovered a pattern that took a flower and put it into a square which could then be attached to more and more squares to make one big, final blanket: thus, my discovery of the granny square. This being the first big project of mine, I’ll be honest to say that it took a while. It took me about three years of on-again-off-again crocheting to complete. Even then, I made many mistakes along the way that I learned from and even came out to be fortuitous.
Another virtue of crocheting with the granny square technique (and why I think I prefer it) is that it keeps you interested. Even though an entire project may take a long time to create, the pieces themselves are accomplishments of their own. Even though I love to crochet, I tend to get bored of a project after a while, so being able to switch up the colors and whether I was doing a flower, or the square border, was great. It’s also easy to make small, short term goals that really keep me going until the big goal of a finished product is within reach.
The Materials:
- Lion Brand Pound of Love Yarn in Pastel Green (it looks more turquoise to me; I used just over 2 skeins)
- Caron Simply Soft Yarn in Autumn Red, Bone, Strawberry, & Off White (I used about 3 skeins of each)
- Size 4.25 mm crochet hook (this is smaller than recommended on the yarn, but it just seemed to work better for me)
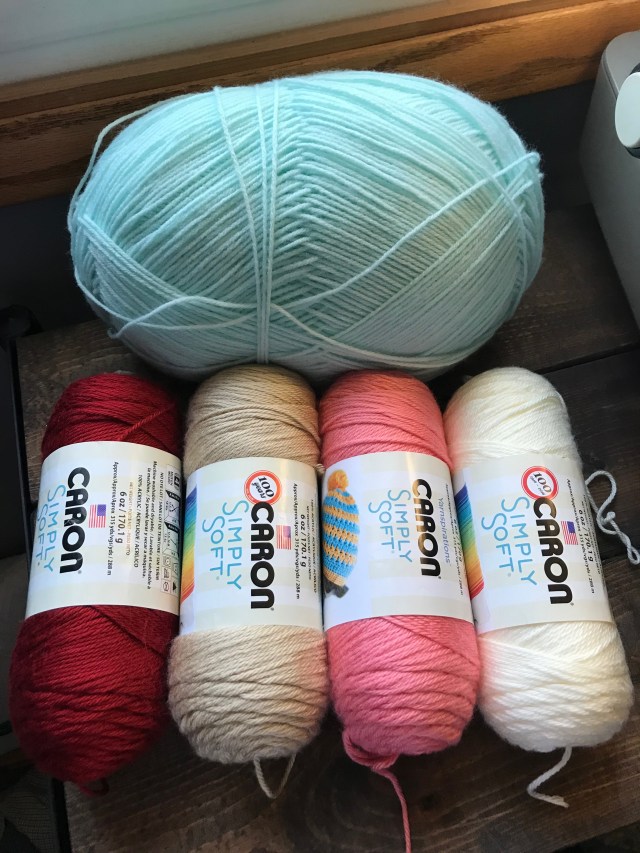
The materials I end up using are never an exact science and rely more on a gut feeling. I was buying yarn and was attracted to the shiny, softness of Caron Simply Soft yarn. I also loved how the reds and the pinks of the yarn for the flowers contrast with the turquoise/green and yet are all balanced by the neutrality of the white and tan.
The Pattern:
- The pattern for the flower itself can be found here.
- A step-by-step picture tutorial can be found here.
- The pattern for the square border can be found here.
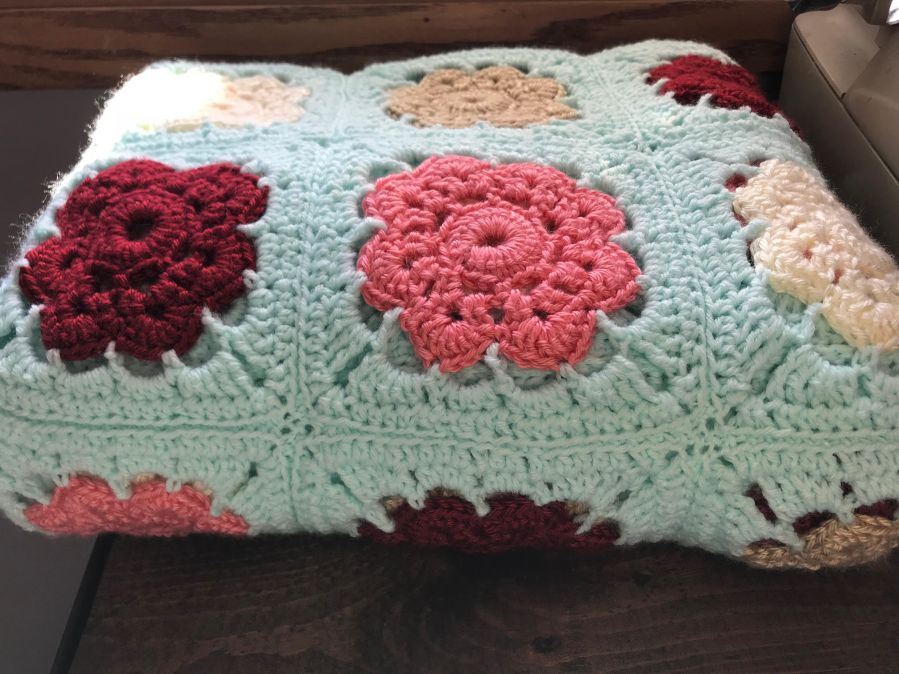
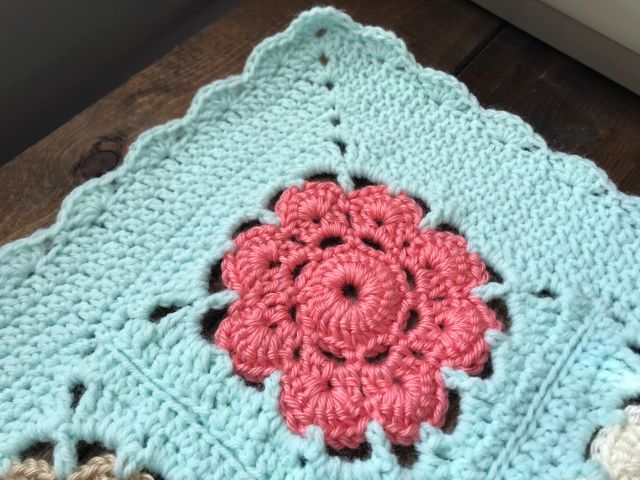
Now, I did follow the patterns pretty closely except for one mistake early in my crocheting days. I did not do a double crochet normally (yarn over, insert in loop, yarn over and pull through, yarn over and pull through two, yarn over and pull through two). Somewhere along the line I started doing it wrong and didn’t notice until I was halfway through the project. I would yarn over, insert in loop, yarn over and pull through stitch and through one loop on hook, pulling it to the approximate length of a double crochet and then yarn over and pull through two loops on hook. It’s a variation that I recently discovered in my post about my first crochet hat to be the herringbone stitch. When I noticed this error, I made a Maybelle flower with a normal double crochet and was surprisingly less pleased. Doing it incorrectly actually made the flowers have a little more body and puffiness in the middle and the petals. The normal double crochet pattern was very thin and the hole in the middle was a lot larger. So, I continued to do the incorrect stitch in the middle and on the petals only, opting for the correct double crochet stitch everywhere else in the pattern (which made it look neater and more stable).
Arranging and joining:
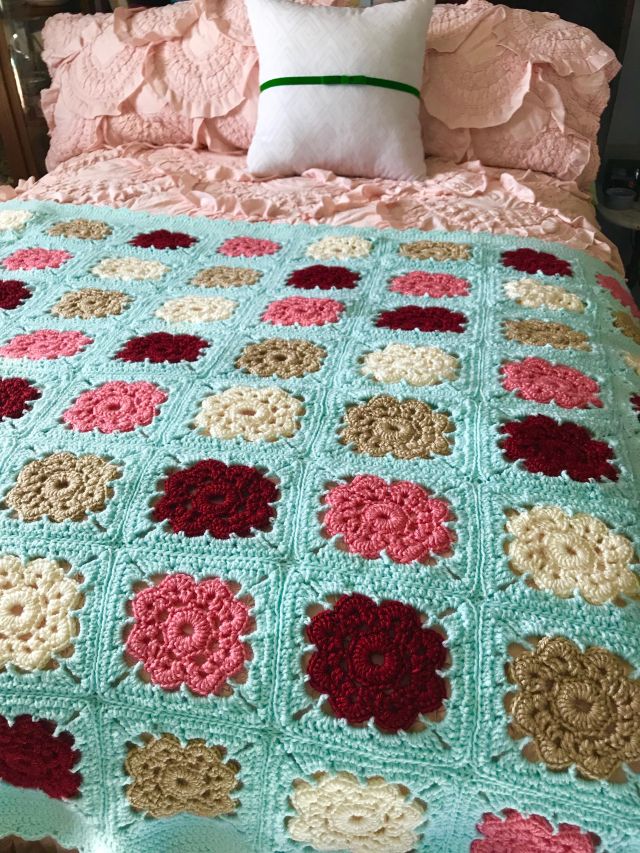
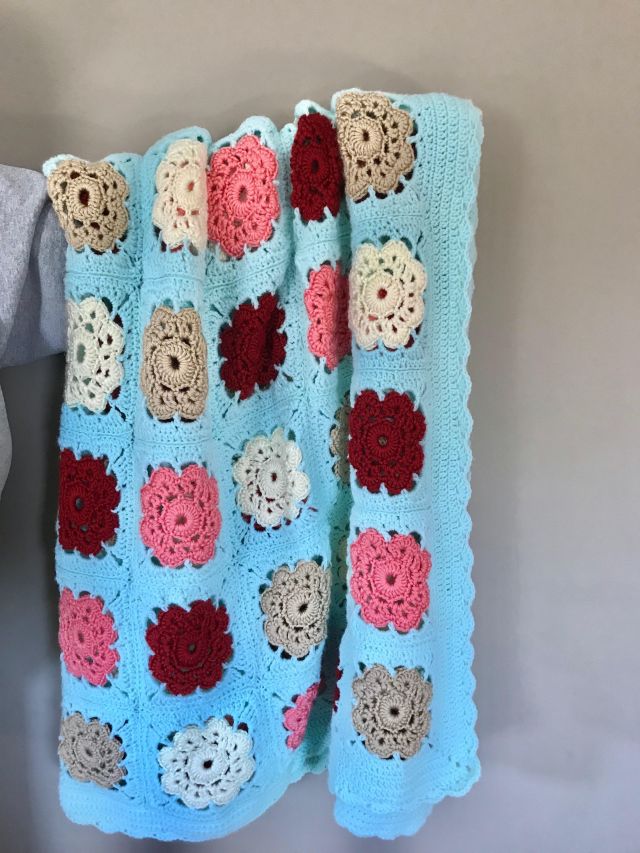
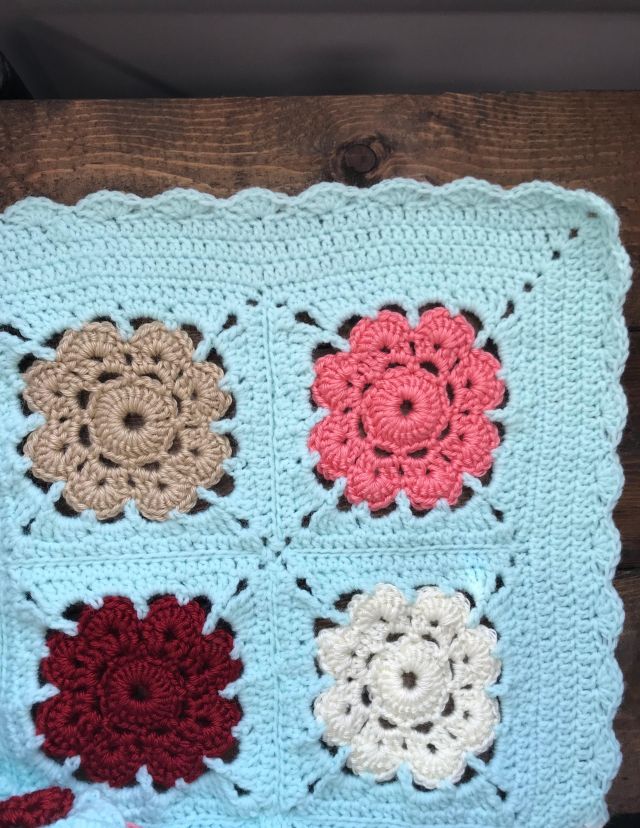
I arranged the colors in 2 x 2 squares so that each color was represented. I assembled them in strips of these squares so that it was a strip of two rows of the Maybelle squares and then attached the strips together. Then in between these squares, flowers of the same color would be diagonal each other. My main goal was to not have any flower of the same color directly next to each other.
I joined the individual squares together by placing the right sides together and slip stitching through the back loops of the edge of the squares. Here is a very good, detailed tutorial of exactly what I did.
Finishing:
I finished the blanket with a border: three rows of half double crochet. At each corner I would half double crochet two then chain two then half double crochet two all in the same stitch to make it pointy. The final row of edging was meant to mirror the look of the petals of the flowers. I followed a simple shell pattern of single crocheting in whatever stitch you end up at, skip two, double crochet five in the third stitch, then single crochet in the third stitch from that and repeat. I had to fudge it one or two stitches around the corners. I didn’t necessarily count my stitches and plan it out, but I always did a petal of five double crochet in a corner. It turned out really well because it matches the flowers but is less emphasized in their shape. The whole Afghan turned out to be 8 rows by 10 rows of single Maybelle squares and 52″ by 60″ with the border.
What I have learned from jumping into crochet without really knowing what I’m doing is that there’s really no mistake that can’t be fixed or worked into the project. You might even like it better in the end than if you hadn’t made all those mistakes along the way. It’s a very Bob Rossian message. Just because you aren’t an expert doesn’t mean you can’t succeed and it won’t work out in the end.

