From the beginning of my crochet career about four years ago, I had avoided making a hat for fear of its difficulty. I thought there was mandatory “decreasing” and fancy, intricate yarn and hook tricks that would be too tedious for me to follow. However, after a cold week where the temperature dipped to single digits, I figured I’d give it my best go; the hat I had just wasn’t cutting it. I ended up finding a pattern with no decreasing that was quite simple to follow. I am also quite happy with the finished product, even after making some mistakes along the way.
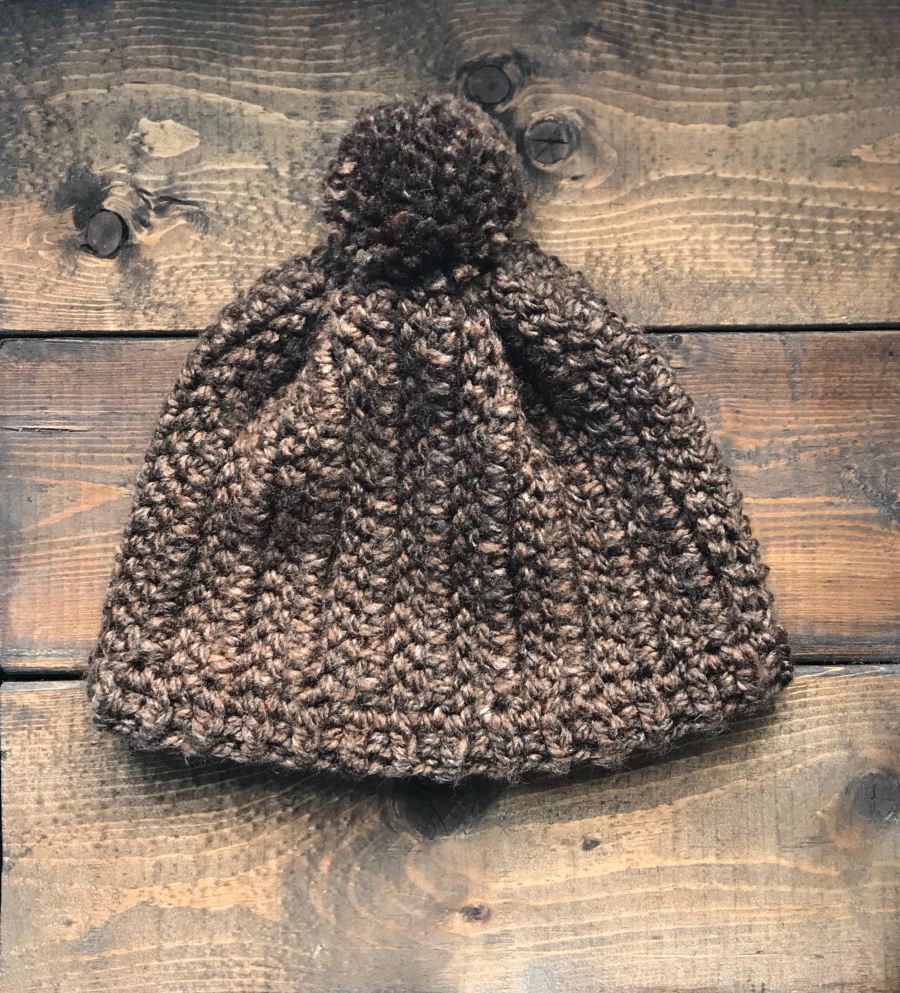
I found this pattern that was relatively simple and beautiful. First, it has you crochet the main body of the hat in a rectangle, stitch the finished ends together to make it a cylinder, and the cinch the top together to form the top of the hat. The stitch used here is termed a herringbone stitch that I actually discovered myself in my early crocheting days and before I knew it had a name by doing my double crochets incorrectly. It creates an almost bumpy texture. To finish the hat, a border is added at the bottom and a pompom on top. However, I made a few adjustments to this pattern to accommodate the yarn I had on hand.
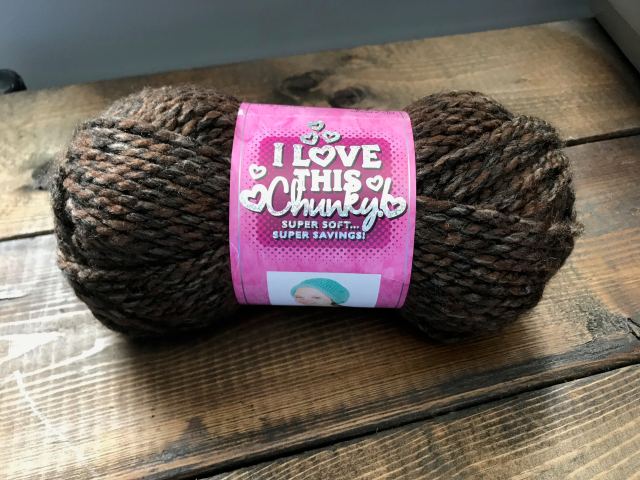
I used the I Love This Chunky yarn pictured above and a 6 mm hook even though it calls for a 6.5 mm. It is a mottled, rich brown yarn with specks of black and other various black/brown hues throughout. The pattern called for a bulky weight yarn and an 8 mm hook. If I were to redo this pattern, I would use a bigger hook so it would be a little looser and not so stiff. Since the pattern calls for a slightly bulkier yarn, I chained 20 instead of 15 which made it a little longer so I was only able to do one row of the front-post and back-post stitch without making the hat too big. In doing this hat again, I would stick to chaining 15 and then add more rows of the border if necessary to get it to the correct length. I love the way alternating front-post and back-post stitches created a ridged pattern. I also had to use a needle and thread to secure my wobbly pompom, but maybe that just means I need to look into how exactly to attach pompoms in the first place.
All-in-all, I love my new brown hat, with its varying specks of black and different shades of brown. It matches both my beige/tan scarf and my black coat. Its sturdy because of the bulky yarn, but also so warm and soft. The hat I wore before continually left an imprint of ridges on my forehead if I wore it too long, but this one is comfortable and roomy. Even if it isn’t perfect, it’s a work of my own. I learned a lot along the way and now have the pride of knowing I made the hat that keeps me warm on my long walks across the college campus.
