Apartment Decor: crochet pillows

With moving into a new apartment and building my own couch (more on that later), I knew I’d need some cute pillows and I also knew I could make something just as good if not better than what I could find at the store. This coincided with the liquidation of Pat Catan’s where I had bought a lot of random yarn that was very much on sale. So, I bought a four pack of 18-in pillow inserts from amazon and got started.

Mustard & Grey Ribbed Pillow

yellow pillow frontyellow pillow back

The first pillow I made was following a pattern on the Yarn & Hooks blog that comes with a really great video tutorial. This one was actually really fun to make and I love how bold the ribbing is. The yarn I used here was from the brand All Things You and it was a Super Bulky Wool blend in a mustard and a grey color. The mustard on the front is one skein and I had two skeins of the grey. The pattern states that it takes about four skeins, so I had to finish up a bit of the edge on the back and join with a bulky white yarn. The pattern also calls for a 16 inch insert, but I knew I wanted a very bulky and fluffy pillow that wouldn’t go flat, so I went with an 18 inch insert to make sure all the corners were filled and robust.

Navy & Grey Chevron Pillow

blue pillow frontblue pillow back

The second pillow I made using a very cool Polly Plum square pattern that she calls As Time Goes By that can be found here. There’s a really great video that will walk you through the entire pattern, showing you all the little tricks to each stitch. The square as the pattern is written was a few inches too short, so I added two rows right before the end row and the finishing row of single crochet. The end row (row 15 in the pattern) has stitches that help to finish the out the pattern of the chevron all the way to the edge, so any size adjustments have to be added before that. I made two squares and then put the wrong sides together and slip stitched all the way around through the top loops of the single crochet. The color changes depended completely on if I thought I had enough yarn to finish out the row, and if I didn’t I just changed the color. The pattern actually turned out great and I got to use up all my yarn with very few little random bits left over! The yarn I used on the front and in the middle of the back was a Lion Brand Thick & Quick yarn in colors Olympic and Katmai. The navy on the back outside of the gray was an All Things You Super Bulky Wool Blend and then a Lion Brand Wool-ease Thick & Quick yarn in the color Grey Marble around the edge. The squares here also came out to be about 16 inches, even though I had 18 inch inserts because I wanted a good, full pillow.

All-in-all, I’m very happy with my pillows. I hate buying things that I feel like I can make myself and this way you can make it exactly how you like it, not having to settle with whatever is available on the shelf.


A Month in Ireland: archaeology and medieval monasteries

I spent the month of May in Ireland learning about medieval monasteries all while digging up one. It was a trip through my university that combined the science of archaeology with the textual and comparative evidence of medieval history. That being said, we visited many medieval churches and monasteries and did a lot of manual labor involving a lot more wheel-barrowing than I had expected. I lived in a home-stay with three other girls from my program for the month which let us get to know the local culture and be immersed in the community. Everyone on the trip became very close and many nights were spent together out at the local pub. It was an amazingly memorable experience I will take with me forever. Here I will recount some of my trip, what we did, and what i thought about it.

Trim


donkeysruins with sheeparchaeology

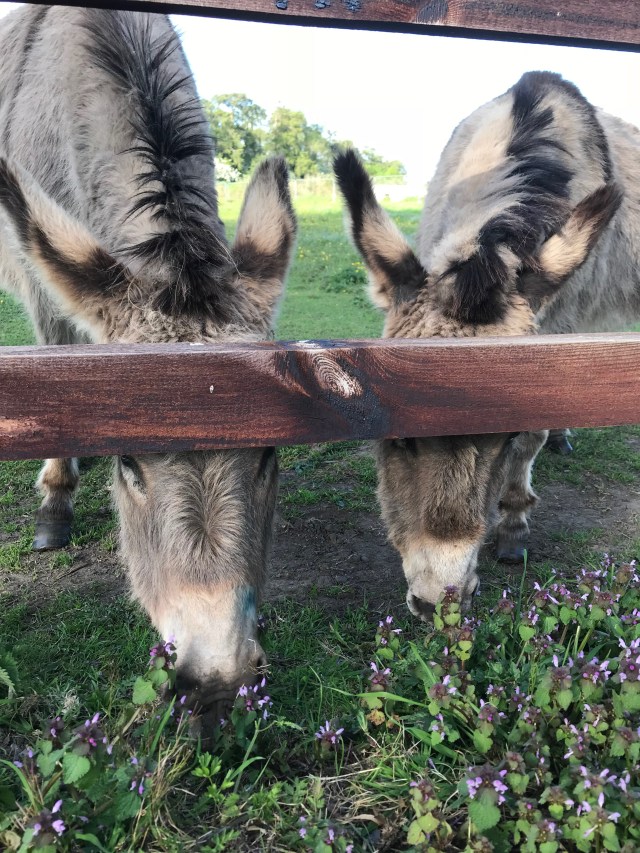
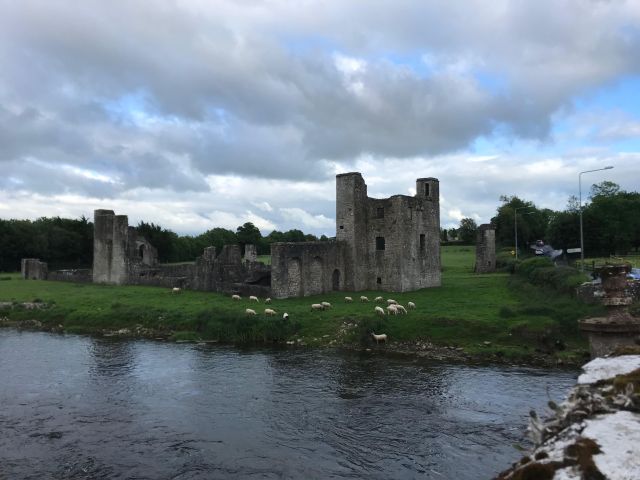
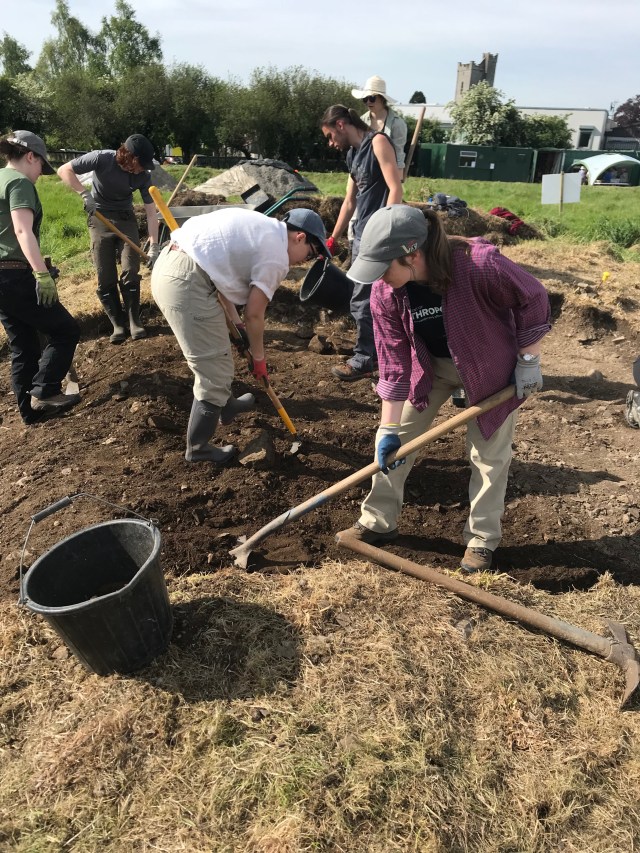
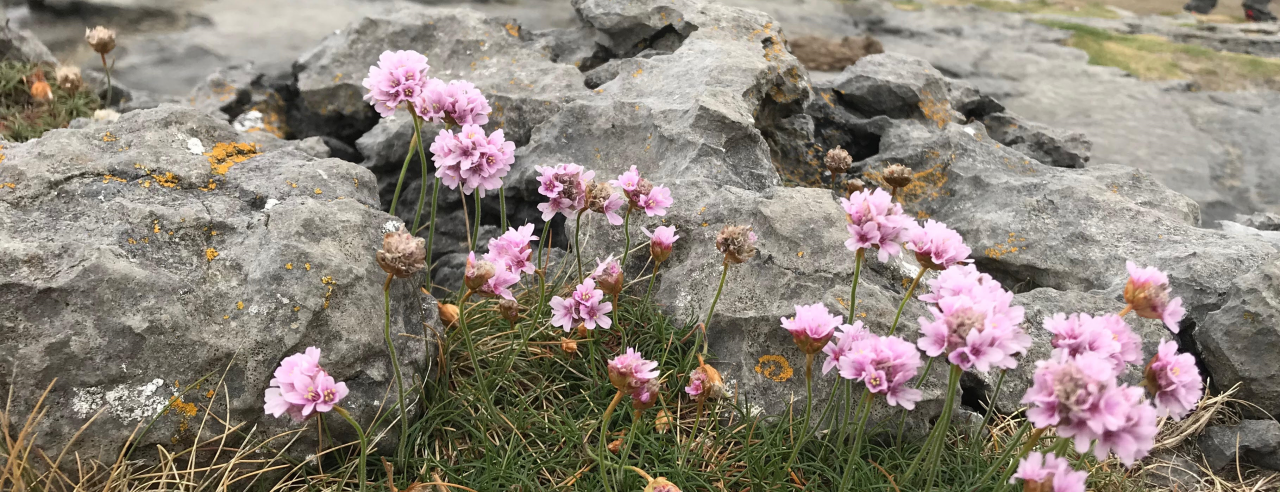
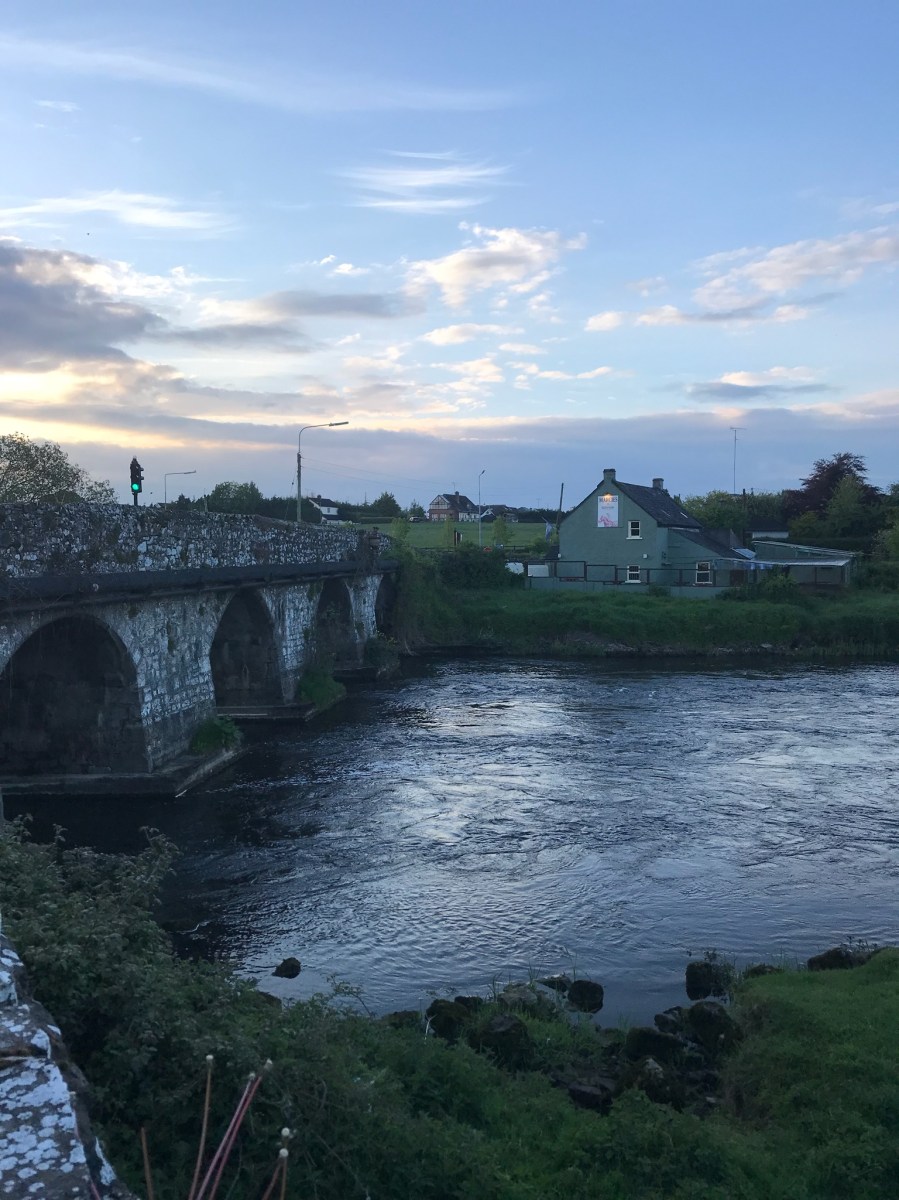
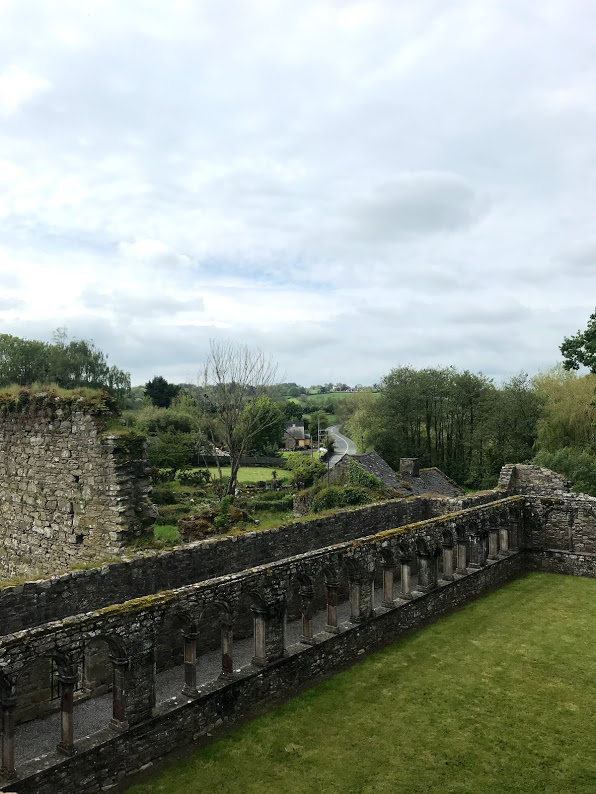
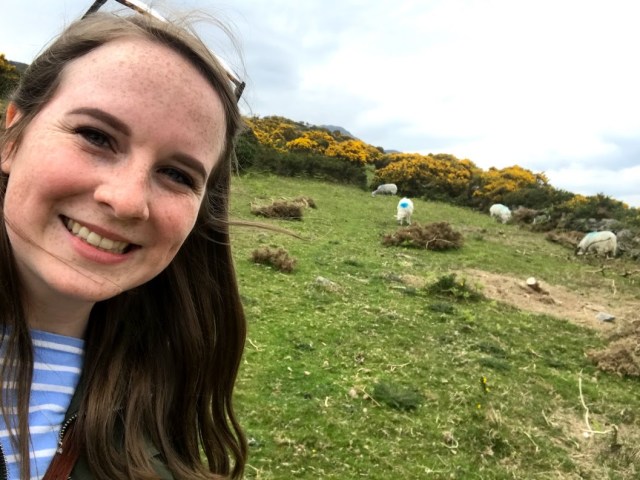
I stayed in the town of Trim just 40 minutes north west of Dublin. It’s home to Trim Castle which was used in the filming of Braveheart. We passed this castle and other ruins (pictured above with sheep) on our way to work every day as well as some adorable animals (mainly sheep and donkeys). We spent most of our days at Trim’s Blackfriary Archaeology Field School learning how to excavate, methods of post-excavation, and many other things in the world of archaeology such as lessons in bioarcheaology and how to use various equipment. The archaeologists here were amazing people and they even had a site cat called Lola. They do a lot of school tours and community digs where the people living around the site can get involved and interested in what’s going on. Trim itself has several cute restaurants, but we didn’t get to try too many. We were completely consumed by the fish and chips at a quick Italian shop on the corner called Fabio’s that any time we had an opportunity to eat out, we just ate there.

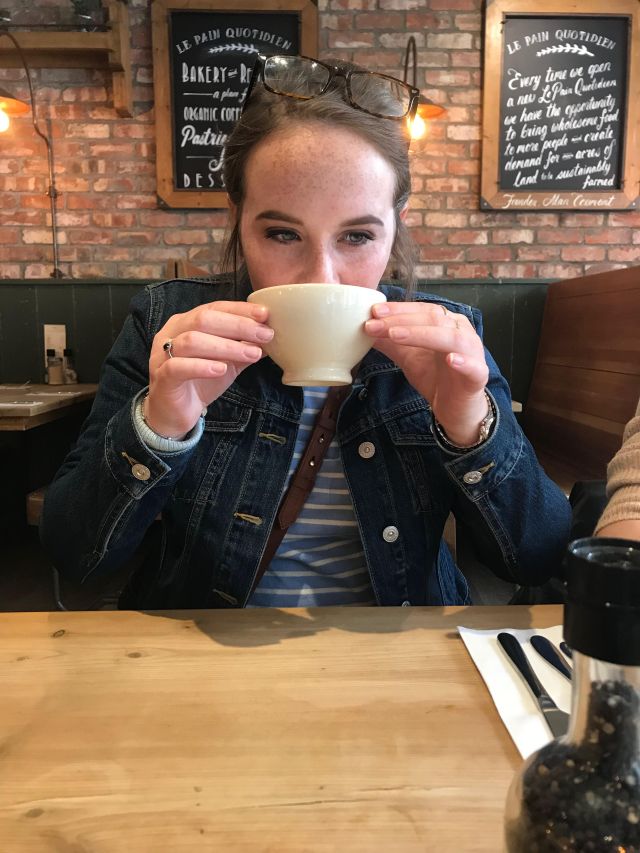
The weather was much different than I had expected. It was a lot colder. I had read online to wear layers etc. but I never truly grasped why until I was there. The sun is quite piercing when it isn’t hidden by clouds so we had to liberally apply sunscreen on digging days. It would get quite warm too, but when the clouds covered the sun it would get a lot chillier. The day we went to Dublin I wore four layers (a 3/4 sleeve shirt, cardigan, jean jacket, rain coat) and took them off and put them back on many times.

During our last week in Trim, we went kayaking down the Boyne river which was so much fun. It got a little bumpy and they assured us that we would all fall in at least once (although I never did). It was nice to have that time to spend not within a town or city, but within nature and the surrounding landscape. We passed a field of cows that ran along with us and got up close and personal with some of Ireland’s flying insects (not my favorite part). We ended up by Bective Abbey, which one one of the comparative places we visited to go along with our study of medieval monasteries.

Dublin

IMG_7973


dublinme in dublin

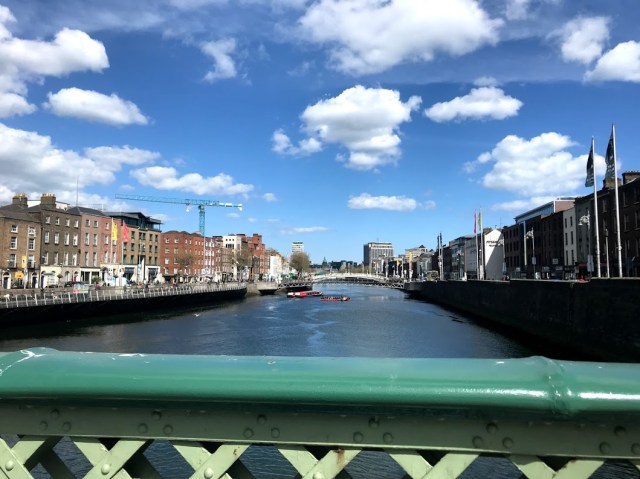
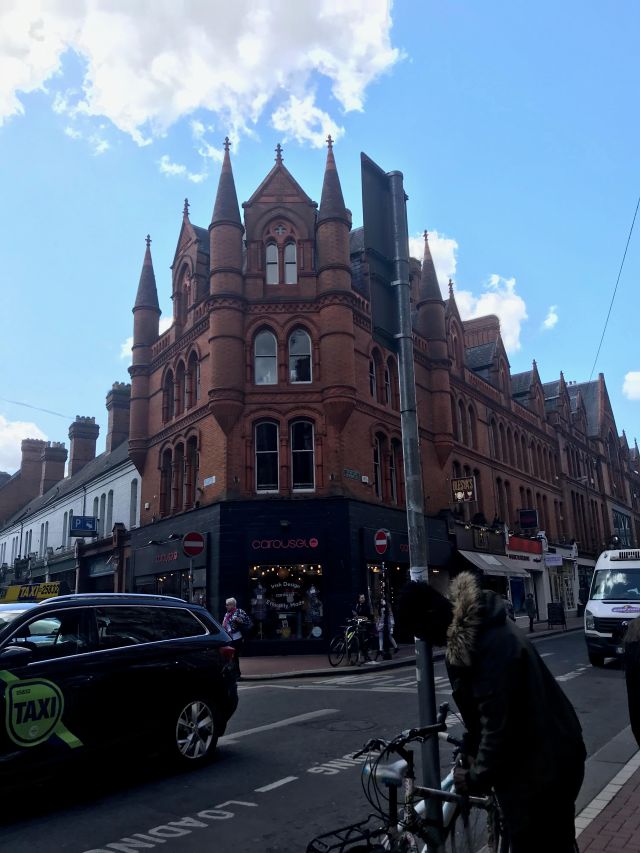
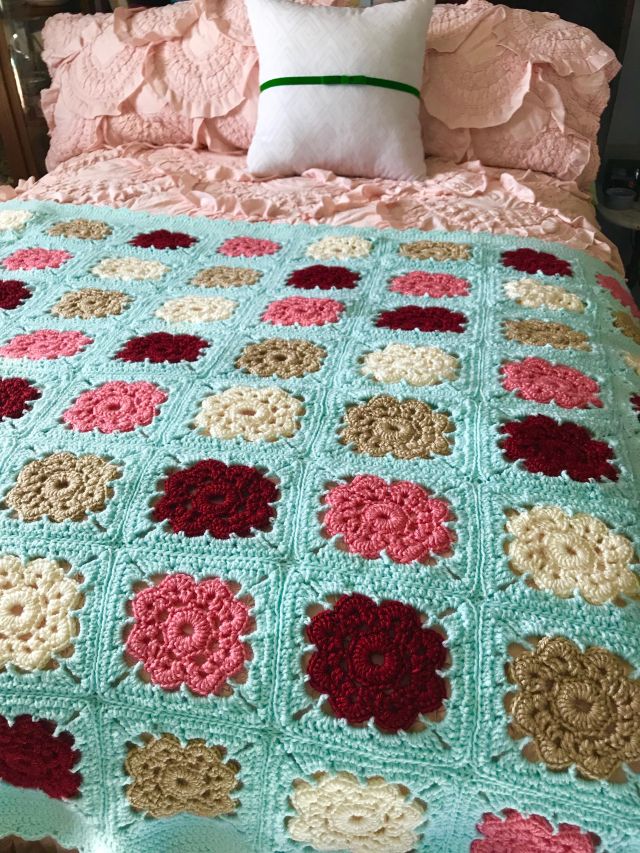
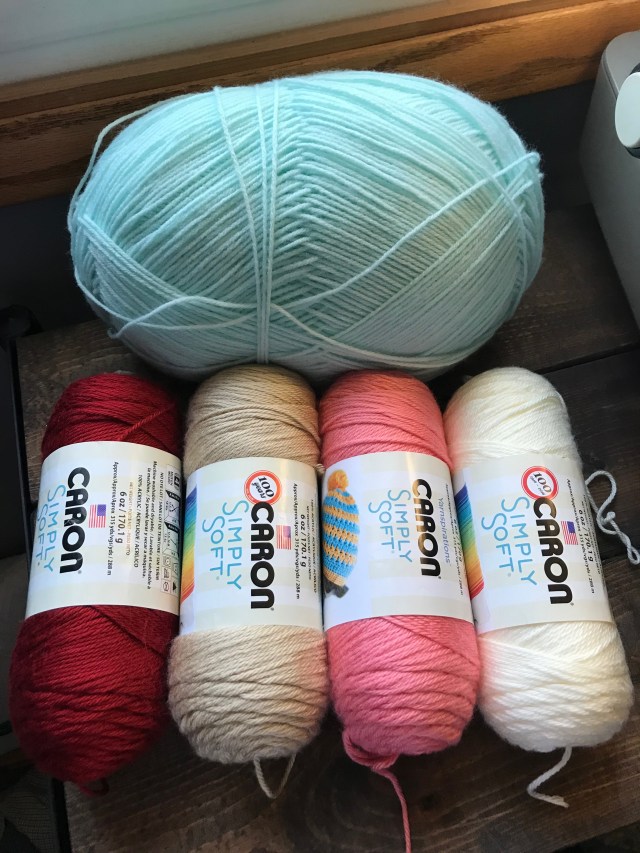
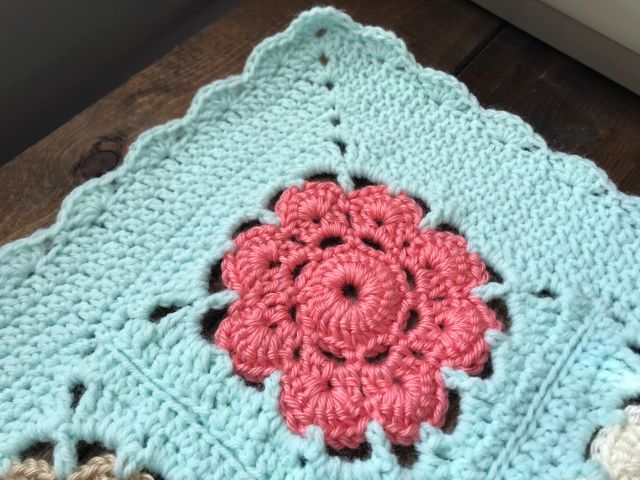
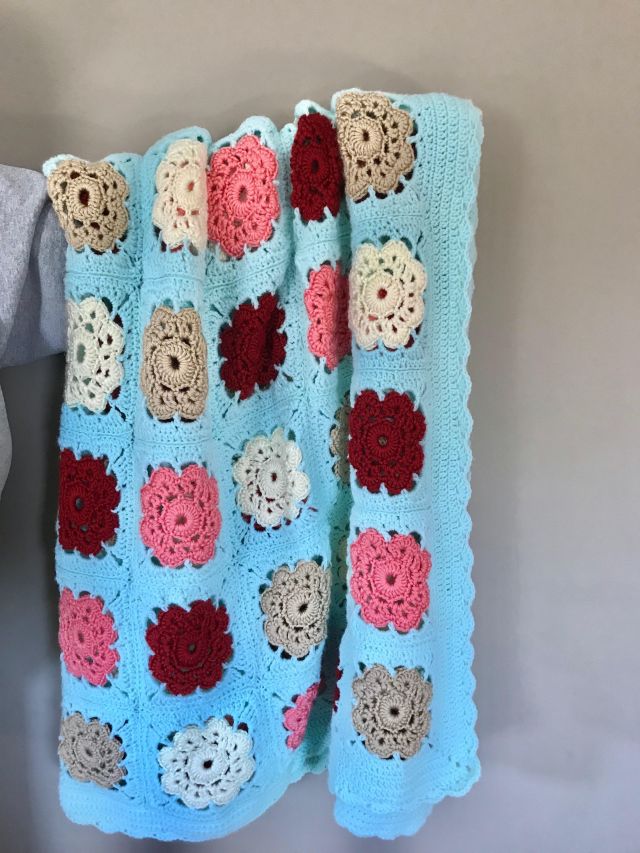
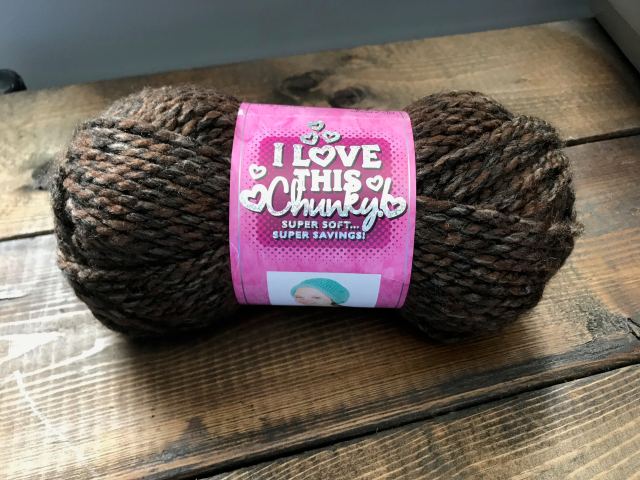
We got a bus to Dublin on a Saturday and it was a lovely day of shopping and eating. We, of course, went to the archaeology museum which was very cool even if you aren’t on a trip that is doing archaeology like I was. They had an exhibit on the bog bodies that was an interesting read and much of the local history and archaeological finds from all over Ireland. I also, of course, had to buy yarn while I was there. I bought four skeins in different colors (a light blue, dark blue, green, and a plum) that were spun in Donegal and then two other skeins that were made elsewhere. I bought a really beautiful orange colored yarn that was made in Spain which I will be making a project out of and will post soon. We also had a stop in Dublin on our way to Galway later in the trip and I found a little pastie shop and bought the most delicious beef and gravy pastie. I still dream about it.

Kilkenny & surrounding area

IMG_8067IMG_8080IMG_8107IMG_8126

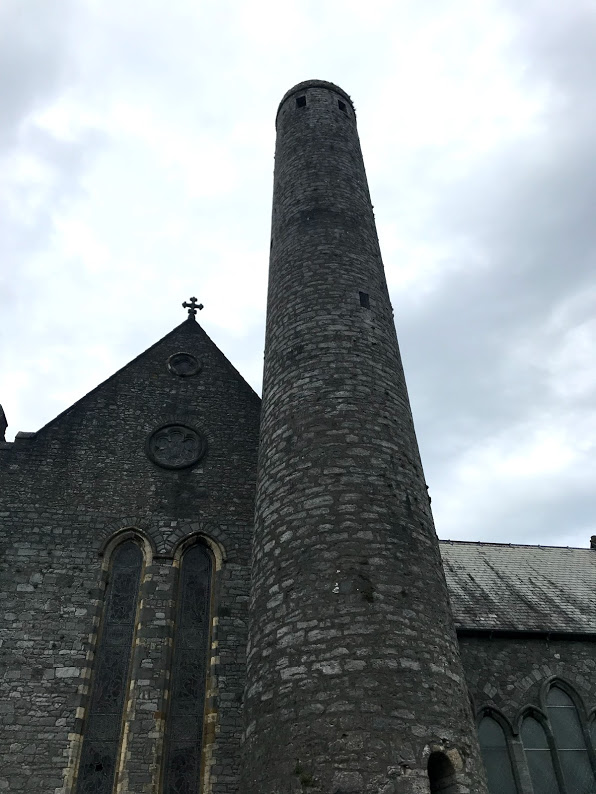
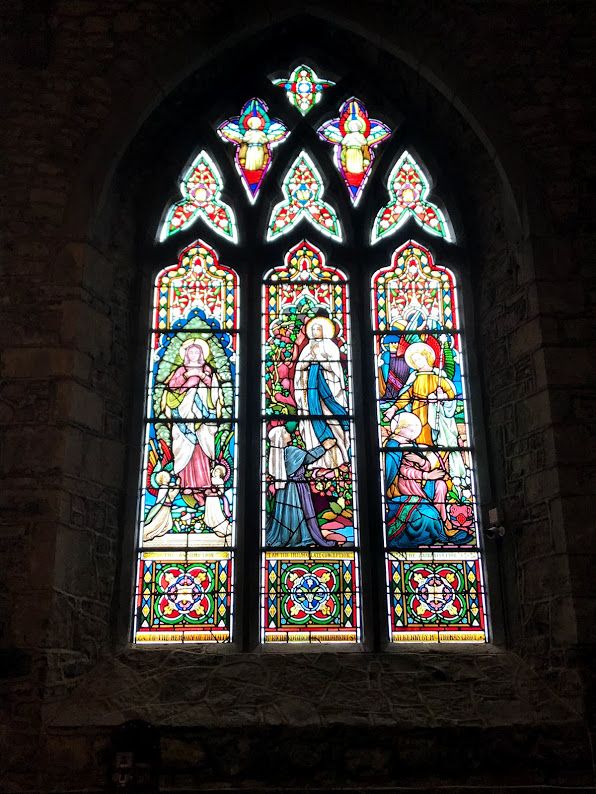
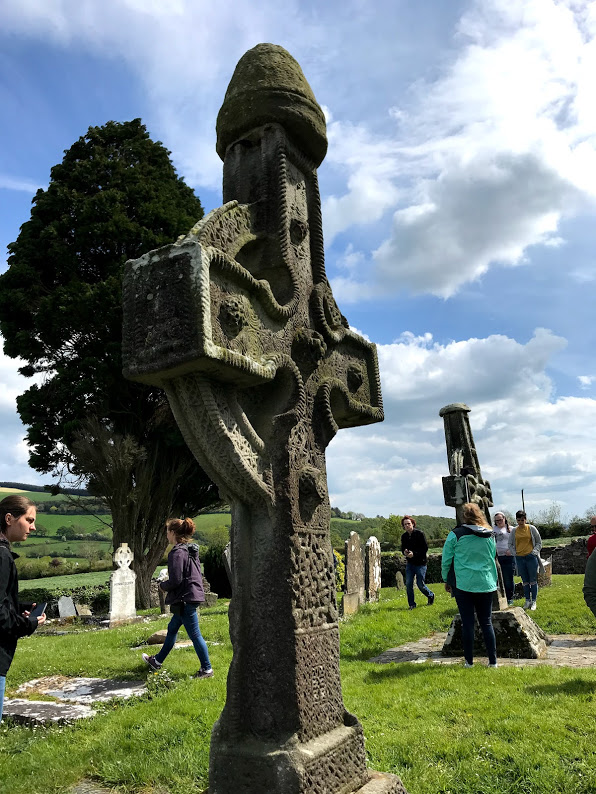
The weekend we spent in Kilkenny was a very interesting one. Many of the places we visited included stories of the history of the area, the most thorough account of which we heard at the Medieval Mile museum. It was at one point a booming merchant town and it seems to still be a place that a lot of people from surroundings towns come to on the weekends. The first place we visited and probably my favorite was St. Canice’s Cathedral & Round Tower. You are able to purchase a ticket to climb the stairs all the way up the round tower. My legs were shaking the entire way up and all the way down but the experience was totally worth it; It’s fascinating that they would build such a thing. The tour we had here was also may favorite because of all the personal stories that go along with the tombs and sculptures within the cathedral. We then visited the Black Abbey which had some beautiful stained glass windows and then in the Medieval Mile museum we saw some castes of the High Crosses that we would see later on in Ahenny (fourth picture). We also visited Jerpoint Abbey (seen in the third picture) which had a beautiful surrounding landscape and little dragon-like (or so I thought) carvings on the pillars in the cloister.

Galway

IMG_8368IMG_8381IMG_8394IMG_8347

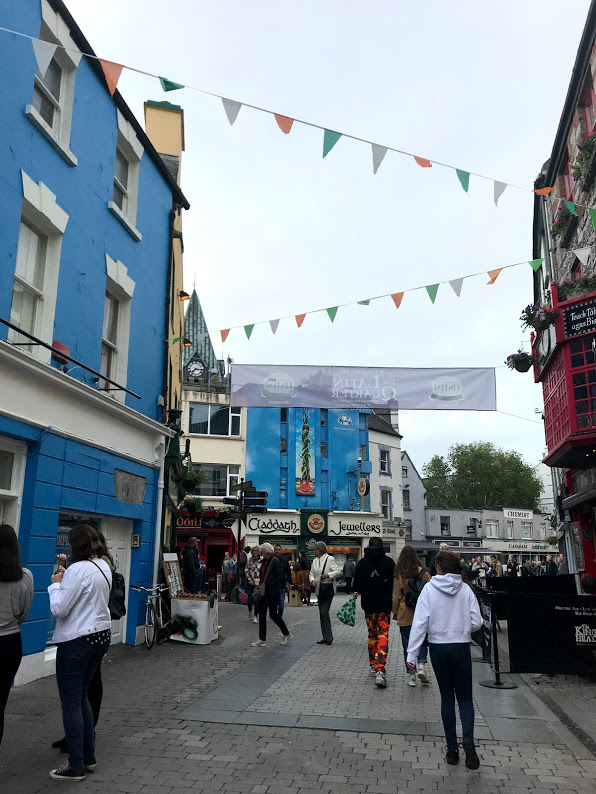
On one of our free weekends, we traveled to Galway which was a destination I was really looking forward to because if Ed Sheeran can write a song with its name in the title, it must be good. It was a picturesque city with colorful buildings and pretty views of the water down by the docks. It was also quite a busy place on the weekend. It proved difficult to find any space in any of the many pubs we went into. From the amount of hen parties (bachelorette parties) that I saw not only this weekend but pretty much every weekend no matter where we were (and during the week, it didn’t really matter), I’m led to believe that someone is always getting married in Ireland.

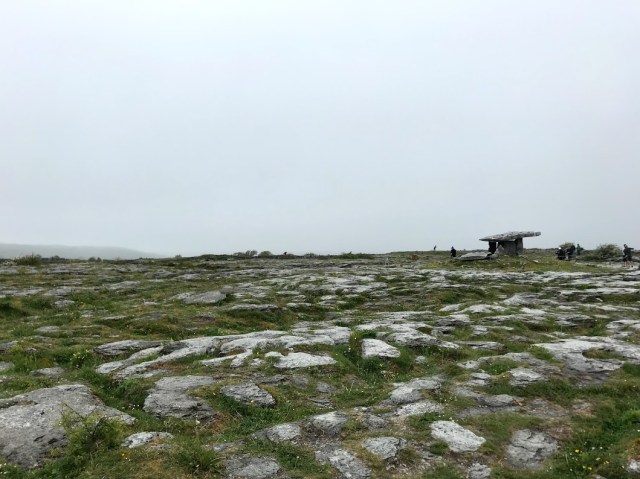
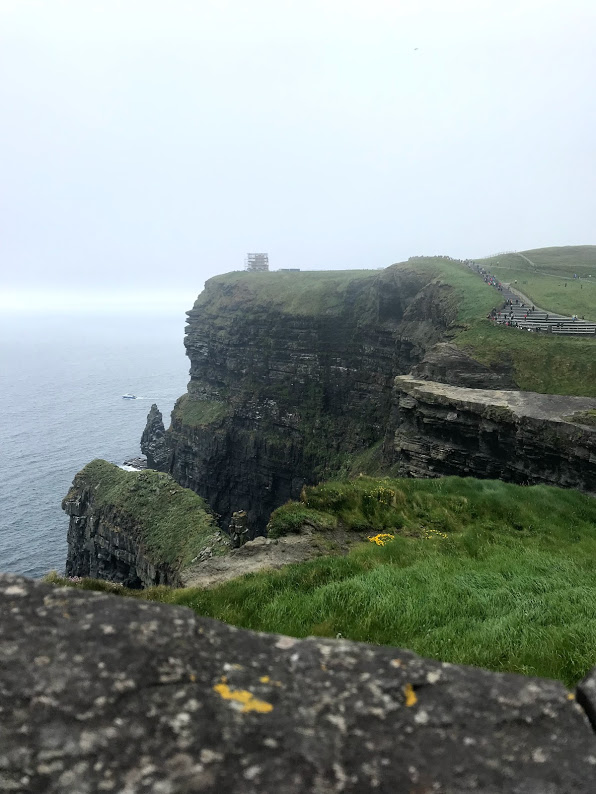
The first night there, we walked around and just let ourselves get lost. We found several little book shops and ended up at a nice little restaurant where I got mussels in a white wine sauce (so yum). The next day we did the obligatory-and-honestly-worth-it tour to the Cliffs of Moher and through the Burren. The Cliffs of Moher were exciting and breathtaking and even more interesting (and anxiety inducing) to watch how many people climb over the barricade to take a picture of themselves sitting right on the edge. There’s a desire there to dance with death that I will never understand. However, driving through the Burren was mystical. Its a vast landscape of limestone that was once covered by the sea and it just has an otherworldly feel. If you have the chance to visit this area, I think it’s definitely worth the experience.

Carlingford

carlingfordIMG_8305

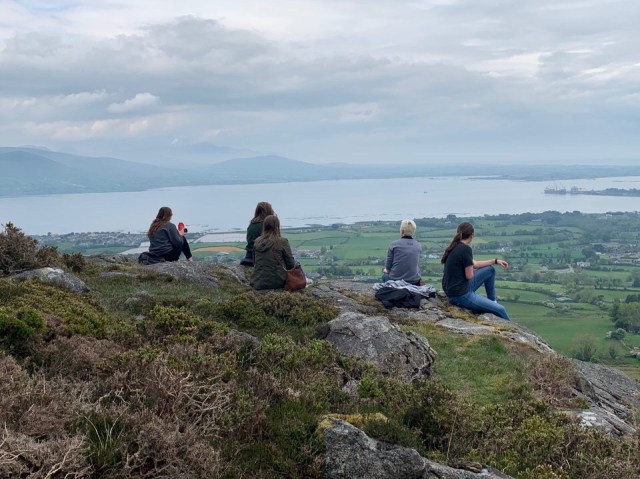
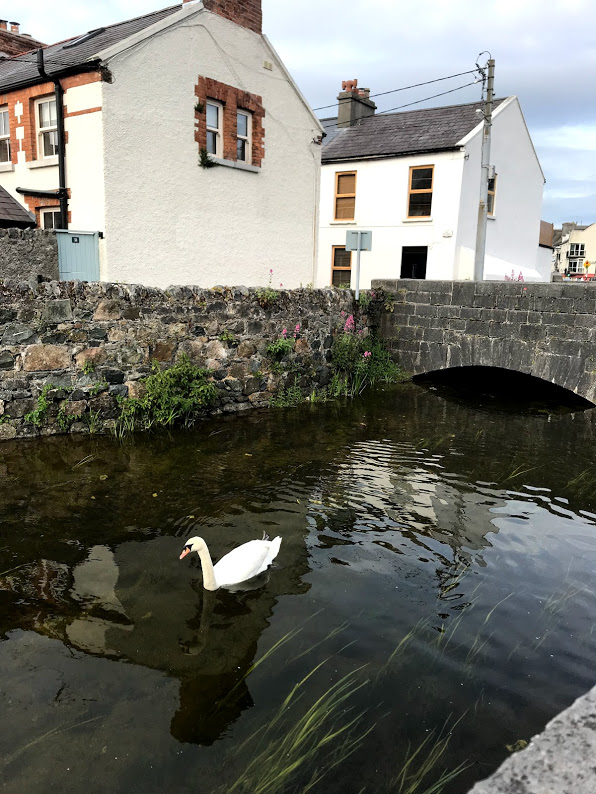
Carlingford was my favorite place that we visited. It had a lovely atmosphere and it was exactly what I thought of when I thought of a small Irish town. It retains much of its medieval layout and has medieval buildings riddled throughout the town. It sits right next to an inlet known as Carlingford Lough and across these waters is Northern Ireland. I bought some jams here from a hotel that included a Red Current Jam, Rhubarb Chutney, and Rum, Raisin, & Apple Jam and brought them home as gifts. I also bought a book in a little antique shop there. The best part about this excursion, however, was the hike up the nearby mountain to the remnants of a village that had been abandoned after the famine. The view was breathtaking. You could see the Irish landscape sprawled out below. If you keep climbing, there is a neolithic burial mound, but I didn’t have enough time to make the trek. Another honorable mention is the sheep that roam through the ruins, my favorite of my favorite parts because it paints such a romantic image.

Ireland was beautiful and the experience was made worthwhile because of the people I met along the way. I don’t feel like that’s the last time I will be seeing the Green Isle, either, because it has so much to offer. I really didn’t get to see much of the southern part of the country and I’ve heard Dingle is great to see. I didn’t venture into Northern Ireland, which is something some of our group did in a trip to Belfast instead of Galway. Overall, I love that I got the chance to be there for a month and really soak up the experience of living there rather than just jumping from one city to the next doing the touristy things. Many of my favorite parts of the trip were when we would take our time and wander around the countryside; a portion of any trip that’s not to be missed. Being able to breathe in a landscape like Ireland has to offer is an experience all on its own.

marcies with text

Crochet Project: baby edition

When I learned that my cousin was pregnant I was immediately excited about the world of opportunity that was opened for me in the realm of baby crochet projects. I finally had a reason to try the super cute patterns I had pinned on Pinterest that my heart just couldn’t handle. The two following projects are what I landed on:

Baby Romper

baby romper

I actually bought the pattern for this from Etsy that can be found here. The yarn I used was Caron Simply Soft Yarn in the color Bone. I like using this yarn because it is soft ad silky in both look and feel but can also be laundered (with care) which offers easier care on the recipient’s end. I had a lot of fun making this and the pattern was really well written and easy to follow. The buttons I used were old buttons I found in my collection of antique shop and yard sale finds. They are pearly white buttons but I turned them around because I liked the creaminess and texture better with the color of my project. I absolutely love how the trim on the leg holes is ridged.

Rose Ruffled Strap Skirt

This was a free pattern that I found on Pinterest that can be found here. This skirt turned out so adorable I can’t handle it. I did the smallest sizing which was six months, but I would say it’s a little on the small side. I ordered a 3-6 month size onesie to go underneath (and the skirt may still be too short). The yarn I used here was also a Caron Simply Soft Yarn and it was in the color Plum Wine. The pattern was a little difficult to follow because I had to use my intuition to attach the straps and buttons (and I may have attached them too far towards the side of the skirt than I should’ve in this picture). I also had some trouble with getting the skirt to look right and ended up using a different stitch. I used the tulip stitch, following a tutorial that can be found here, that is basically a repeat of two double crochets, chain two, and a single crochet. I also didn’t like the straightness of the skirt, so in about the seventh or eighth row I added a repeat of the tulip stitch at the sides and in the back. This allowed for a more A-line shape to the skirt. If I were to do this pattern again, I would probably do the increase in the first row of the skirt to give it a more bubble shape. The straps turned out awesome though and so ruffly.

That’s all I’ve tried for now, but I love crocheting baby clothes. They are so quick and in the end you get something so tiny and cute and yet useful.

My First Afghan: the virtues of granny squares and making mistakes

When I first started out crocheting, I loved to crochet flowers because they were small, simple, quick, and satisfying to create. The idea of a large project was a far too intimidating to start. That’s when I discovered a pattern that took a flower and put it into a square which could then be attached to more and more squares to make one big, final blanket: thus, my discovery of the granny square. This being the first big project of mine, I’ll be honest to say that it took a while. It took me about three years of on-again-off-again crocheting to complete. Even then, I made many mistakes along the way that I learned from and even came out to be fortuitous.

blanket on bed

Another virtue of crocheting with the granny square technique (and why I think I prefer it) is that it keeps you interested. Even though an entire project may take a long time to create, the pieces themselves are accomplishments of their own. Even though I love to crochet, I tend to get bored of a project after a while, so being able to switch up the colors and whether I was doing a flower, or the square border, was great. It’s also easy to make small, short term goals that really keep me going until the big goal of a finished product is within reach.

The Materials:

  • Lion Brand Pound of Love Yarn in Pastel Green (it looks more turquoise to me; I used just over 2 skeins)
  • Caron Simply Soft Yarn in Autumn Red, Bone, Strawberry, & Off White (I used about 3 skeins of each)
  • Size 4.25 mm crochet hook (this is smaller than recommended on the yarn, but it just seemed to work better for me)

IMG-7320

The materials I end up using are never an exact science and rely more on a gut feeling. I was buying yarn and was attracted to the shiny, softness of Caron Simply Soft yarn. I also loved how the reds and the pinks of the yarn for the flowers contrast with the turquoise/green and yet are all balanced by the neutrality of the white and tan.

corner

The Pattern:

  • The pattern for the flower itself can be found here. 
  • A step-by-step picture tutorial can be found here.
  • The pattern for the square border can be found here. 

Now, I did follow the patterns pretty closely except for one mistake early in my crocheting days. I did not do a double crochet normally (yarn over, insert in loop, yarn over and pull through, yarn over and pull through two, yarn over and pull through two). Somewhere along the line I started doing it wrong and didn’t notice until I was halfway through the project. I would yarn over, insert in loop, yarn over and pull through stitch and through one loop on hook, pulling it to the approximate length of a double crochet and then yarn over and pull through two loops on hook. It’s a variation that I recently discovered in my post about my first crochet hat to be the herringbone stitch. When I noticed this error, I made a Maybelle flower with a normal double crochet and was surprisingly less pleased. Doing it incorrectly actually made the flowers have a little more body and puffiness in the middle and the petals. The normal double crochet pattern was very thin and the hole in the middle was a lot larger. So, I continued to do the incorrect stitch in the middle and on the petals only, opting for the correct double crochet stitch everywhere else in the pattern (which made it look neater and more stable).

on arm

Arranging and joining:

I arranged the colors in 2 x 2 squares so that each color was represented. I assembled them in strips of these squares so that it was a strip of two rows of the Maybelle squares and then attached the strips together. Then in between these squares, flowers of the same color would be diagonal each other. My main goal was to not have any flower of the same color directly next to each other.

I joined the individual squares together by placing the right sides together and slip stitching through the back loops of the edge of the squares. Here is a very good, detailed tutorial of exactly what I did.

four blocks

Finishing:

I finished the blanket with a border: three rows of half double crochet. At each corner I would half double crochet two then chain two then half double crochet two all in the same stitch to make it pointy. The final row of edging was meant to mirror the look of the petals of the flowers. I followed a simple shell pattern of single crocheting in whatever stitch you end up at, skip two, double crochet five in the third stitch, then single crochet in the third stitch from that and repeat. I had to fudge it one or two stitches around the corners. I didn’t necessarily count my stitches and plan it out, but I always did a petal of five double crochet in a corner. It turned out really well because it matches the flowers but is less emphasized in their shape. The whole Afghan turned out to be 8 rows by 10 rows of single Maybelle squares and 52″ by 60″ with the border.

What I have learned from jumping into crochet without really knowing what I’m doing is that there’s really no mistake that can’t be fixed or worked into the project. You might even like it better in the end than if you hadn’t made all those mistakes along the way. It’s a very Bob Rossian message. Just because you aren’t an expert doesn’t mean you can’t succeed and it won’t work out in the end.

Bob-Ross-Quote-2


Grandma’s Recipe: Chop Suey nostalgia

Even now, I can imagine the smell of my grandmother’s kitchen when she makes Chop Suey: all onions and celery. It has become a smell I love; the smell of a fresh cut onion that lingers on your hands on in your clothes after cooking. Chop Suey is one of my Grandma’s staple specialties; something I have sorely missed on the weekends I didn’t get to go home from university. I had been putting off making it for fear that it just wouldn’t taste the same. It wouldn’t have that same magic grandma-can-make-anything-taste-good flare. So, this past week I embarked on my journey in making this family famous recipe.

Chop Suey is something I had never heard of outside of this one dish my grandma makes and every recipe I’ve found online is a little different. However, the simplicity of the dish as she makes it is its winning quality. It’s essentially a soup of lean, browned pork, onions, celery, and canned bean sprouts all flavored by a few dashes of soy sauce. Once all the flavors of ingredients have combined and melded together, you spoon it over crunchy Chow Mein noodles. All in one bite you get the salty broth, the soft vegetables, the crunch of the noodle, and the chewiness of the tender pork. It’s a recipe that requires a little bit of intuition because, as my grandma writes it, some of the specifics are not so specific. It speaks to the fact that she’s made it so many times, all the steps have become obvious in their repetition as just about everyone’s favorite Sunday dinner dish.

chop suey

Pictured above is a large stock pot with all the ingredients getting a good simmer.

Chop Suey by Grandma Wells

Below is the recipe written out and annotated by me with some of the things I did.

Ingredients:
1 1/2 - 2 lbs lean pork
4 - 5 stalks celery, diced
3 - 4 medium onions
1 - 2 cans Choy bean sprouts
soy sauce

Directions: 
1. Dice the pork and brown it in some oil. Add a few dashes of soy sauce.
(I added some pepper at this point too). 
2. Add onions and celery to a large soup pot to boil in either water or
broth (I used both. I also added some minced garlic.)
3. Add pork when browned and the cans of bean sprouts. Add more soy sauce 
to taste. Boil/cook for about 15-20 minutes.
4. Serve with cooked rice or Chow Mein noodles. (You can add more soy 
sauce to your personal taste at this point as well.)

My First Hat: a weekend crochet project

From the beginning of my crochet career about four years ago, I had avoided making a hat for fear of its difficulty. I thought there was mandatory “decreasing” and fancy, intricate yarn and hook tricks that would be too tedious for me to follow. However, after a cold week where the temperature dipped to single digits, I figured I’d give it my best go; the hat I had just wasn’t cutting it. I ended up finding a pattern with no decreasing that was quite simple to follow. I am also quite happy with the finished product, even after making some mistakes along the way.

I found this pattern that was relatively simple and beautiful. First, it has you crochet the main body of the hat in a rectangle, stitch the finished ends together to make it a cylinder, and the cinch the top together to form the top of the hat. The stitch used here is termed a herringbone stitch that I actually discovered myself in my early crocheting days and before I knew it had a name by doing my double crochets incorrectly. It creates an almost bumpy texture. To finish the hat, a border is added at the bottom and a pompom on top. However, I made a few adjustments to this pattern to accommodate the yarn I had on hand.

yarn and hook

I used the I Love This Chunky yarn pictured above and a 6 mm hook even though it calls for a 6.5 mm. It is a mottled, rich brown yarn with specks of black and other various black/brown hues throughout. The pattern called for a bulky weight yarn and an 8 mm hook. If I were to redo this pattern, I would use a bigger hook so it would be a little looser and not so stiff. Since the pattern calls for a slightly bulkier yarn, I chained 20 instead of 15 which made it a little longer so I was only able to do one row of the front-post and back-post stitch without making the hat too big. In doing this hat again, I would stick to chaining 15 and then add more rows of the border if necessary to get it to the correct length. I love the way alternating front-post and back-post stitches created a ridged pattern. I also had to use a needle and thread to secure my wobbly pompom, but maybe that just means I need to look into how exactly to attach pompoms in the first place.

All-in-all, I love my new brown hat, with its varying specks of black and different shades of brown. It matches both my beige/tan scarf and my black coat. Its sturdy because of the bulky yarn, but also so warm and soft. The hat I wore before continually left an imprint of ridges on my forehead if I wore it too long, but this one is comfortable and roomy. Even if it isn’t perfect, it’s a work of my own. I learned a lot along the way and now have the pride of knowing I made the hat that keeps me warm on my long walks across the college campus.